What is
Metal Clay
(a
non-technical introduction to the medium)
by Laura Bracken
Here
are the basic steps involved when I create a piece of jewelry from metal clay.
First
I’d like you to know that “metal clay” is solid metal that has been powderized. Added to
that are small particles of an organic binder so that when mixed with water, a
clay-like substance is formed. There is
no “clay” in metal clay. Metal clay is
pure metal and an organic binder. During
the firing process, the organic binder burns off and you are left with only
pure metal again. So here’s how it
works.
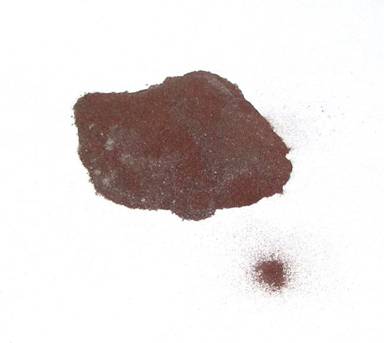
Metal
clay is a form of powder metallurgy.
This is what the powderized metal and organic
binder look like before you add water to it (this happens to be powderized Bronze, which is an alloy of copper and tin).
You
add water and mix it up to a clay-like consistency.
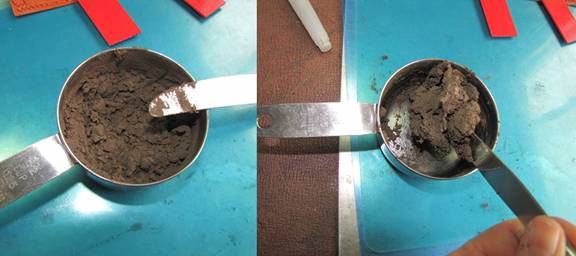
Then
you use this clay-like substance to form your piece.
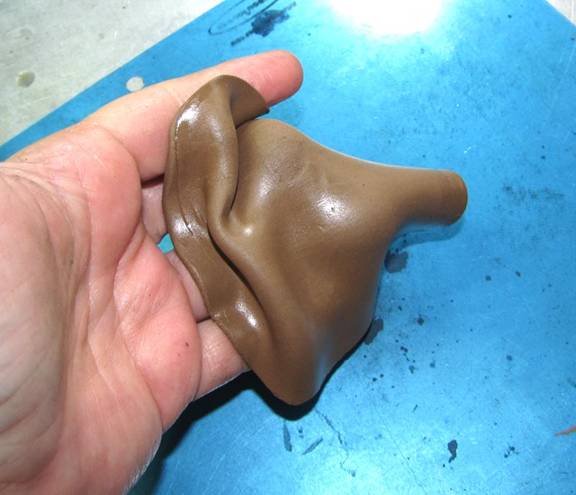
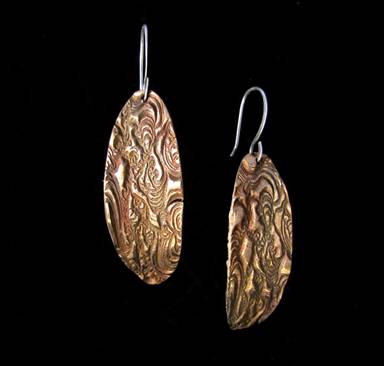
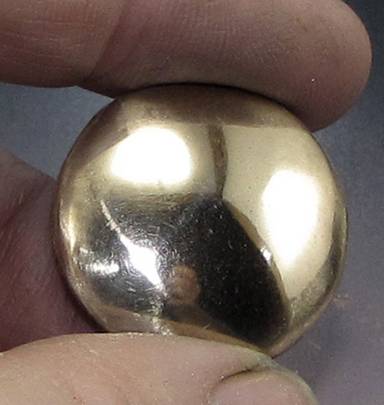
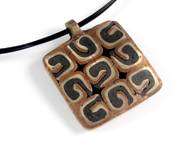
You
can roll the clay into flat sheets, roll it into balls, press textures into it,
sculpt, build, carve, etc.
You
can mix certain metals in certain ways for really cool effects. The main metals I work with are Bronze,
Copper, Steel, a lighter colored Steel Alloy, and very rarely Silver.
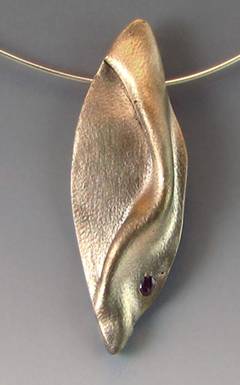
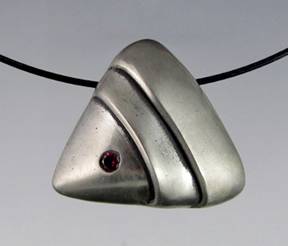
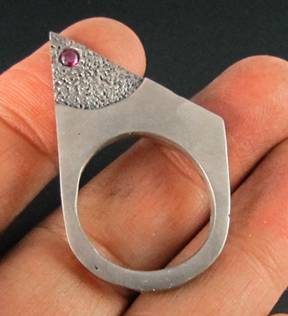
You
can also embed certain stones into your designs so long as you check first to
be sure they’ll survive the firing temperature.
Most of the stones I use are natural Rubies and Cubic Zirconia.
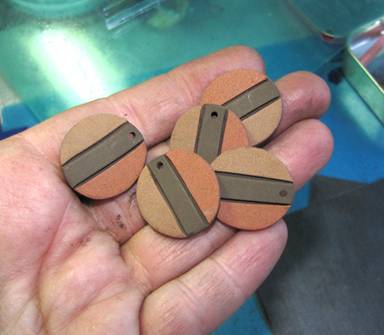
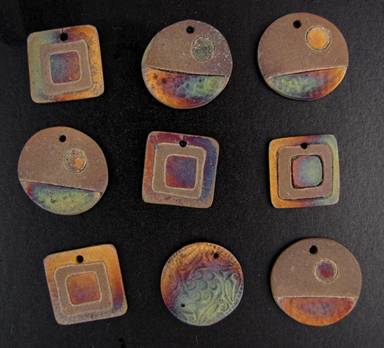
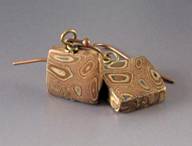
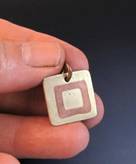
When
you have your pieces the way you want them, you let them dry. Here are five pieces that are dried but not
yet fired. The metals on each piece are
Bronze, Steel, and Copper.
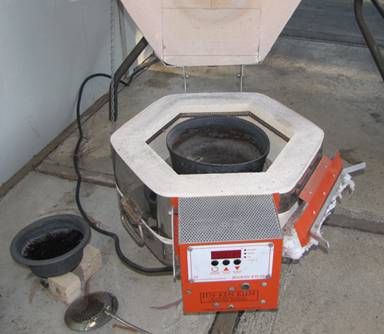
Then
you place the piece in a bowl filled with carbon (made from coconut shell or
husk) and fire it in a very hot kiln.
The firing temperature ranges from about 1400-1850 degrees Fahrenheit
and it takes about 3 hours for one firing in the kiln. Some of the metals require two separate
phases of firing, with a cooling down period in between. Metal clay is not an instant process.
During
the firing of the piece of metal clay, two things must happen. First, the organic binder must thoroughly
burn out. After that, the remaining
metal must sinter. Sintering is where powderized metal is heated to a temperature below its
melting point. Then the particles of
metal begin to fuse together into one solid piece. A finished piece of metal clay jewelry is
more porous than jewelry made from sheet metal, but it is still strong, solid
metal.
Once
your pieces are out of the kiln, if no repairs are necessary (repairs can be
made with fresh clay and re-firing) it is time to clean the metal.
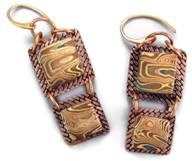
Sometimes
the metal pieces get a really neat color patina from the firing. These vibrant colors usually fade with time.
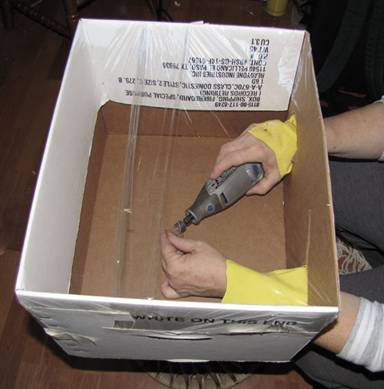
For
textured pieces of metal, I clean my piece with a radial disk tool on my dremel.
If
the piece needs a smoother finish, I sand aggressively with increasingly finer
grits of sandpaper, usually starting out at 120 and working my way up to
1000.
I created a cheap contraption to keep the ensuing metal dust contained. Two holes cut into a lidless box with cut-off kitchen gloves taped into the holes. Two lengths of Saran/plastic wrap across the top of the box, overlapping so they touch but you can separate them to slip things (like your dremel) into the compartment.
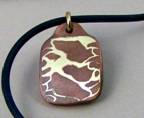
After
the piece has been sanded and polished, I can give it a patina with liver of
sulfur if I want to emphasize any color contrast. This works well between copper and bronze as
the copper darkens and the bronze stays bright.
This is a speeded up process of the natural oxidation that would occur
if we just left the piece alone, exposed to the air, for months and/or years.
The
final step, adding a sealant, is optional and there can be different reasons to
choose this. These reasons include:
·
If
I want the piece to be preserved with the colors it has at that moment.
·
If
the customer reacts to copper and wants a barrier between the copper and their
skin.
·
If
the piece is steel, I often add protection since the iron in steel can cause
rust when it gets wet.
I
hope this explanation helps anyone who wanted to become more familiar with the
process of metal clay.
I
am accredited to teach both Hadar’s Clays and PMC.
Back to Bracken Designs
website